"What is Missing"
Materials: bag or tray with a variety of fun objects; large piece of paper or a blanket
Objectives: This is a fun game that helps children to recognize and recall, they interact with peers, follow directions, practice using expressive vocabulary, problem solving, classification skills and understanding spatial relationships.
Directions: Have your child pick out a variety of objects, tell them that you are going to play a memory game. Have them look over each object and talk about what they are, what they are used for and maybe where you found them. Next tell them you are going to put them on a tray or on the floor and cover them with a blanket/towel. Carefully remove one or two objects from the tray. Uncover the remaining objects and ask the children to tell you what is missing. After playing a couple of times the Foxies found it fun to take turns removing an object from the tray. Sometimes we would remove on object and sometimes we would remove three! Have fun with it!
“Stay at Home” Extension: This is a game that can be played with others over skype, zoom, or facetime. Get a family member or friend that doesn’t live with you to play along. You can each create your own tray of favorite items, share what they are, and then play the what is missing game together.
Strengthening Fine Motor Skills
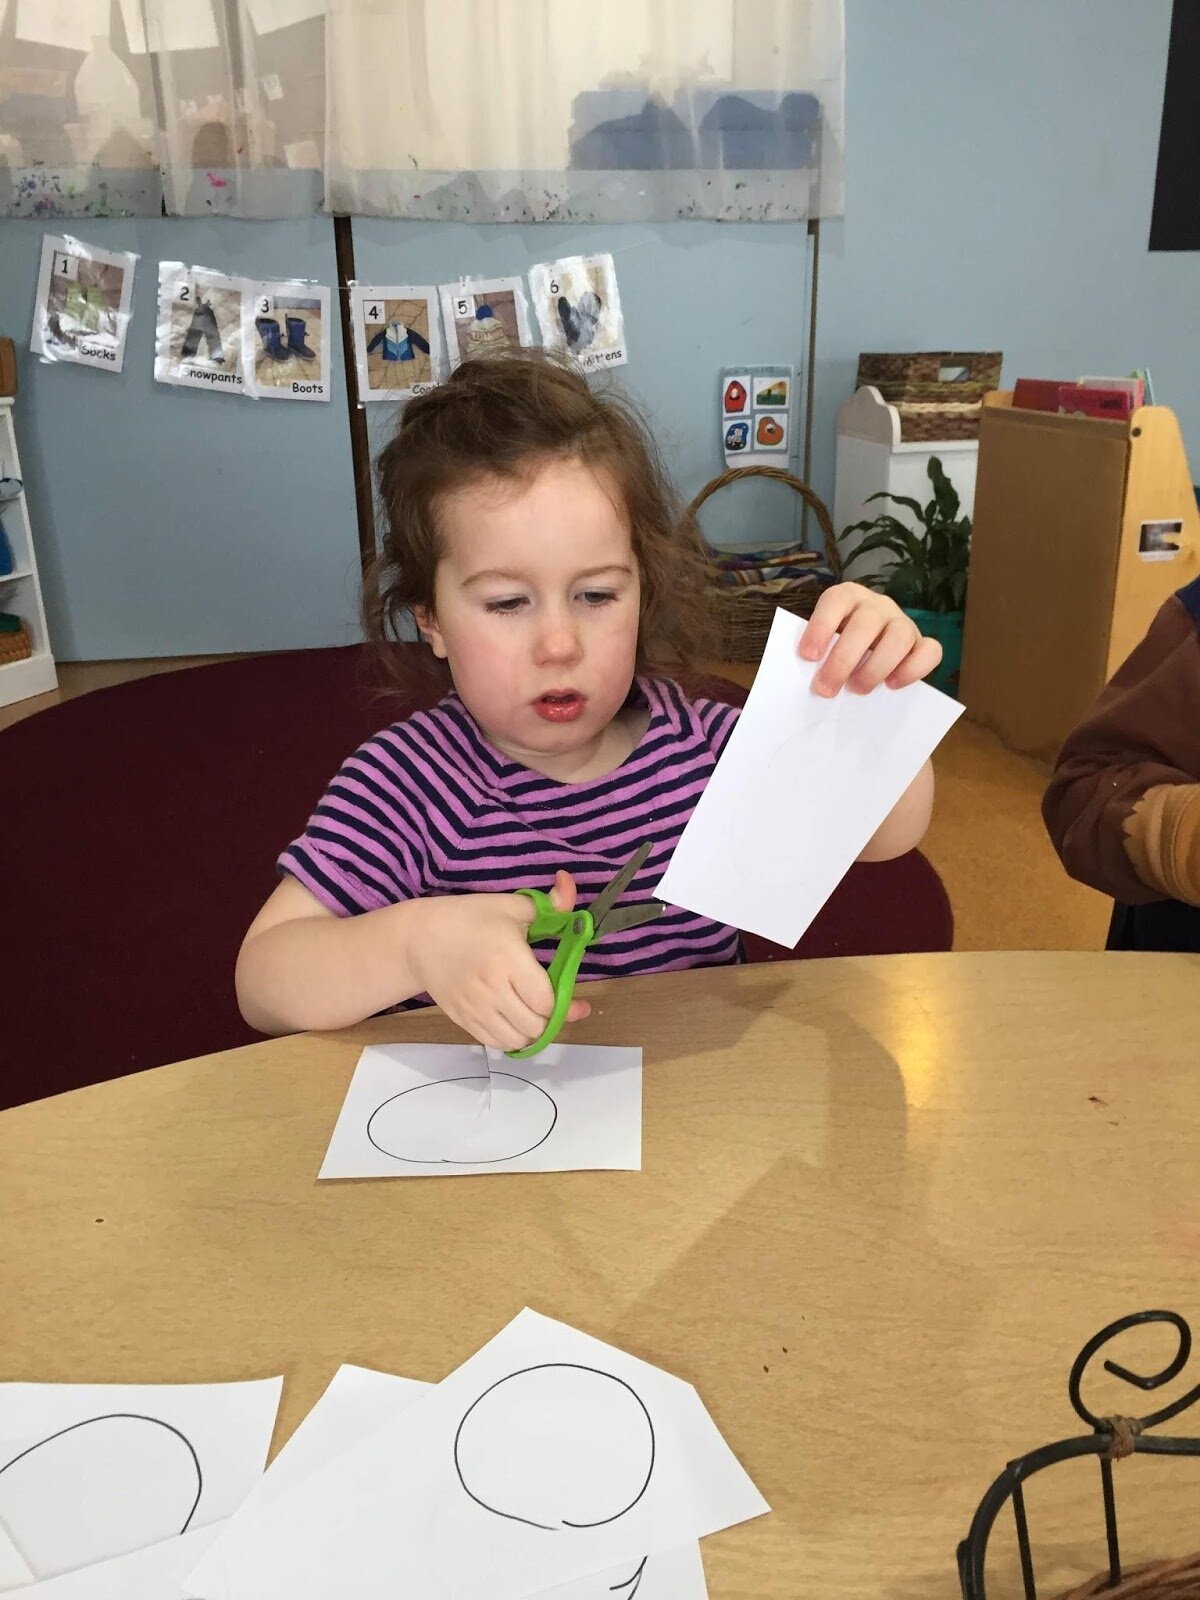
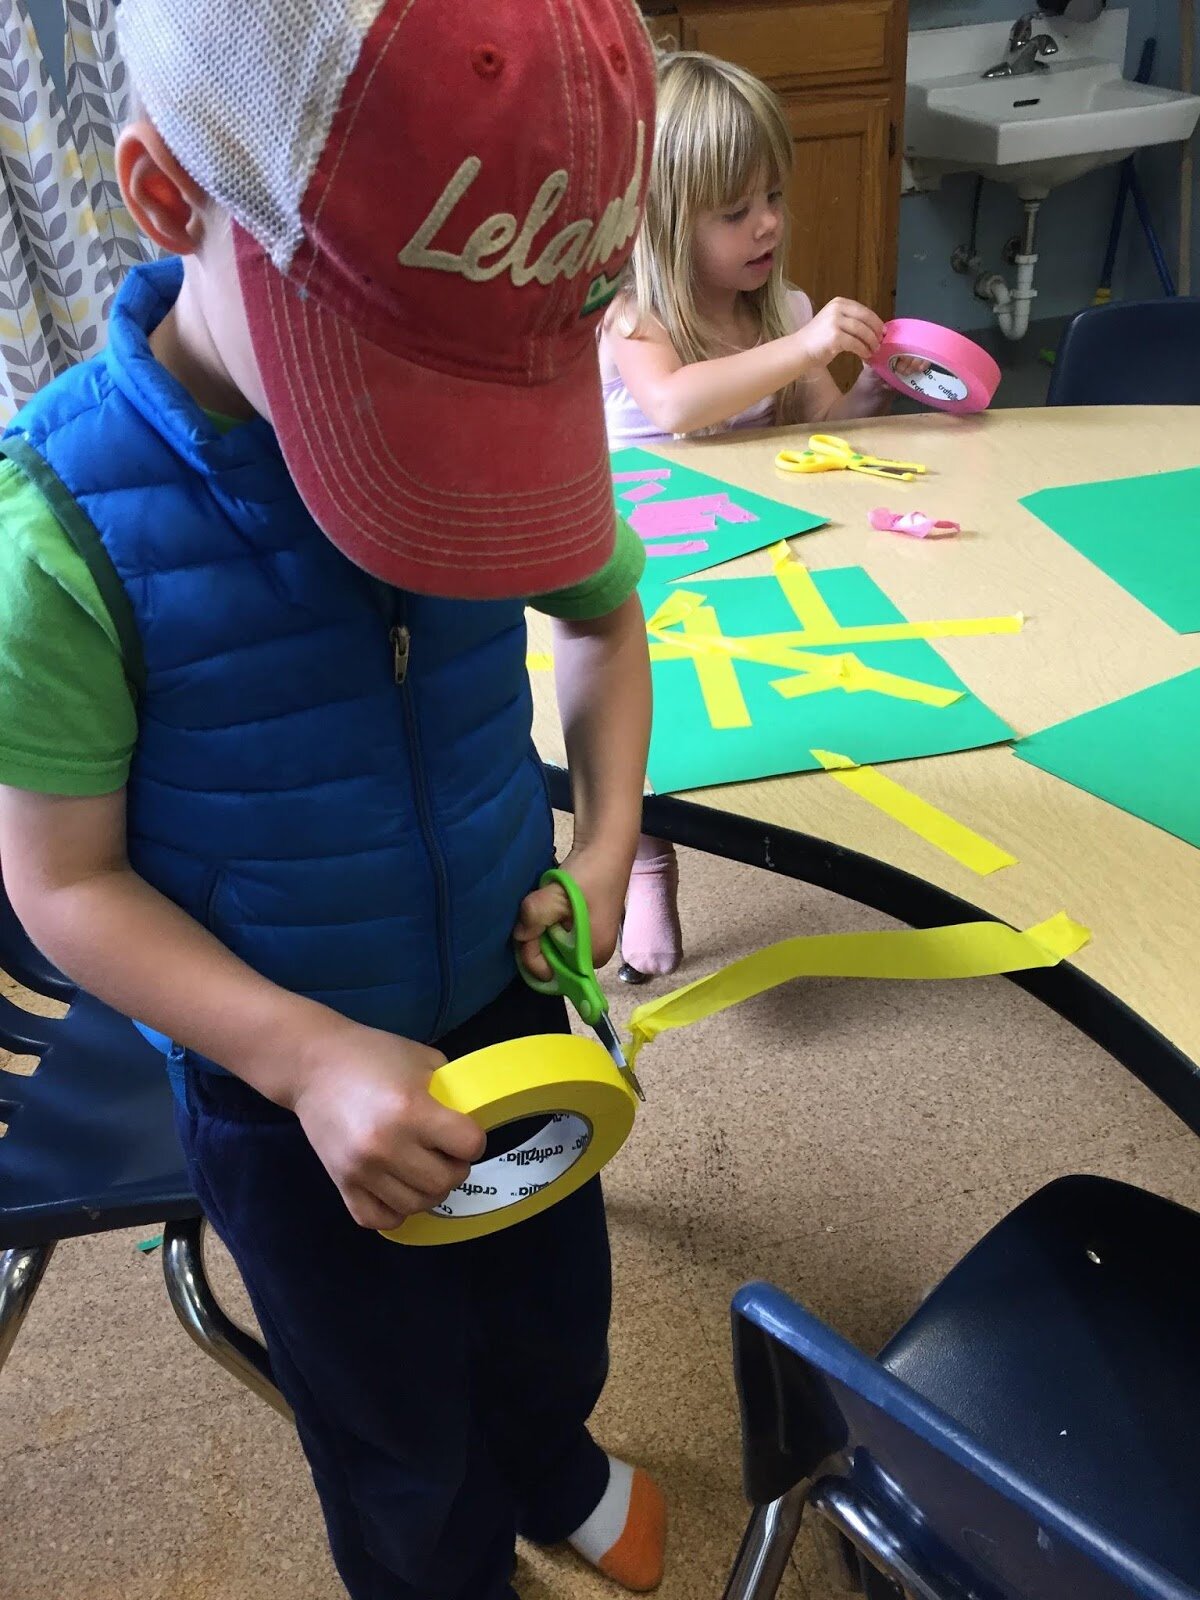
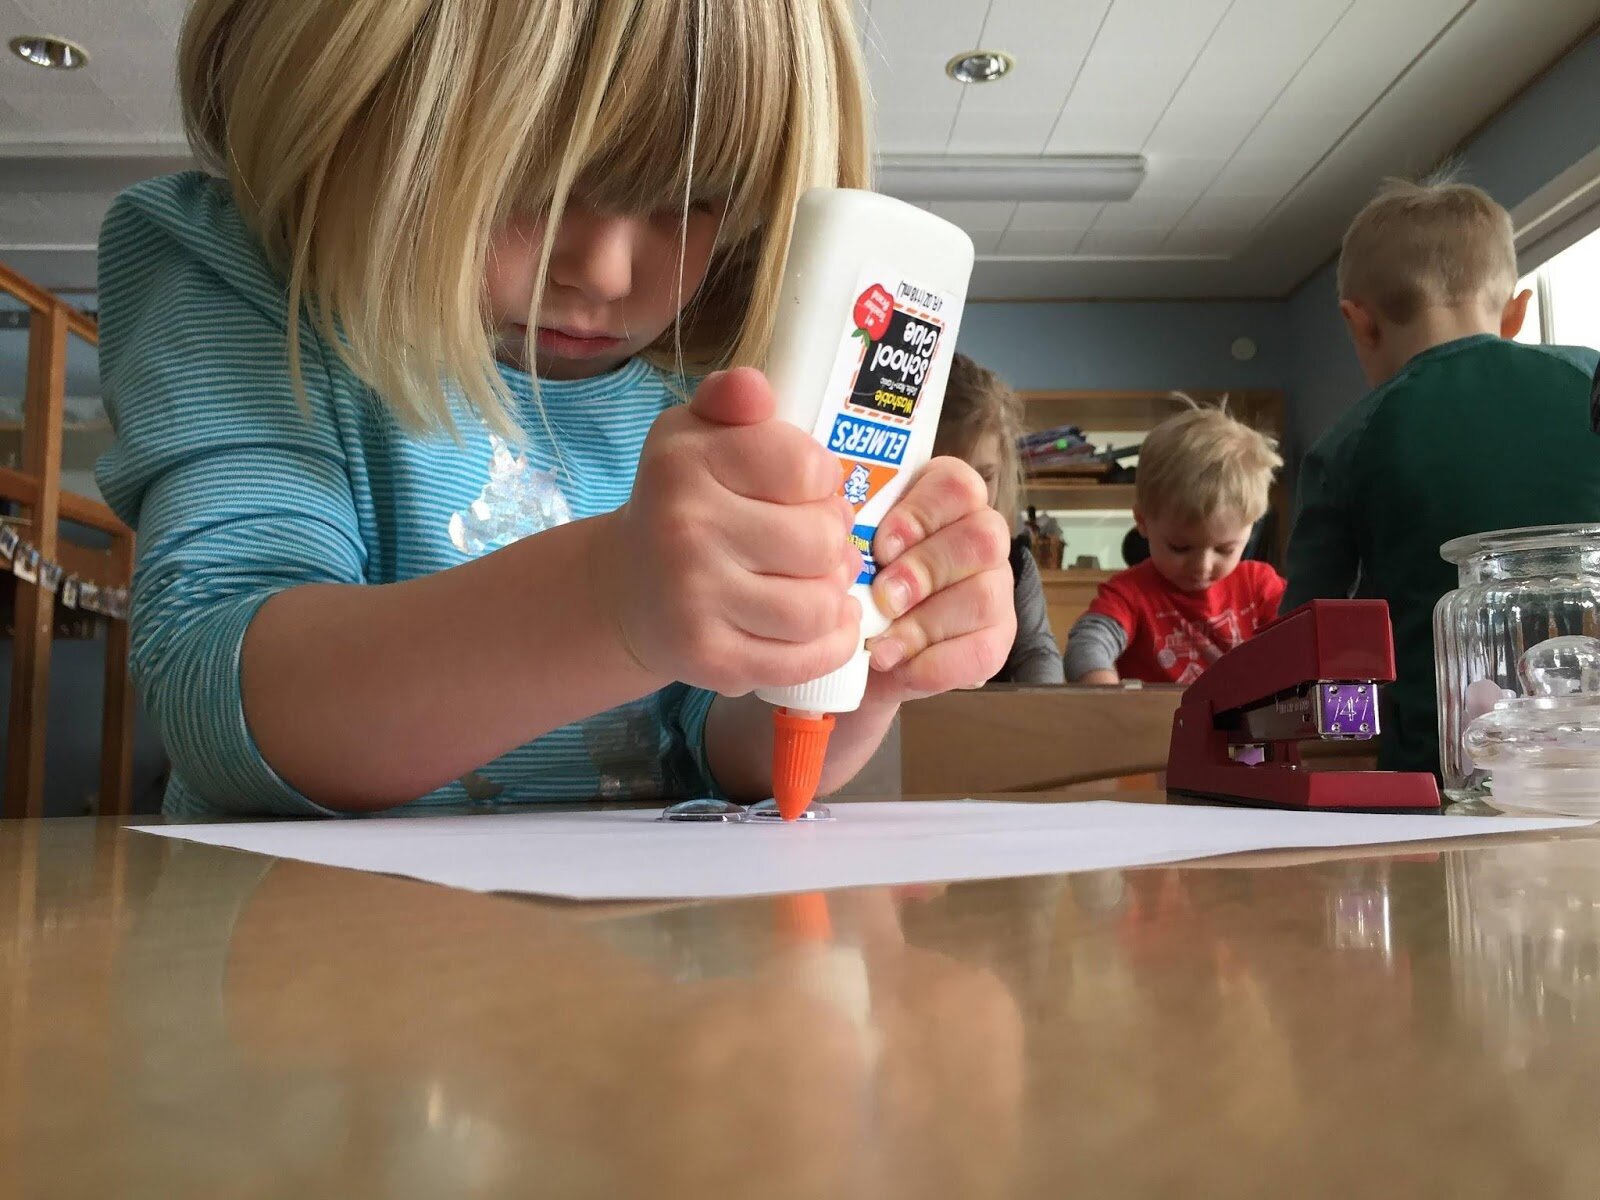
Prior to grasping a pencil correctly and learning how to write efficiently, young children develop the skills needed for writing through engaging in a wide variety of hands-on play experiences with toys and tools and participating in activities of daily living such as self-feeding, dressing, and performing hygiene tasks. Activities like squeezing playdough, squeezing glue bottles, using tongs, cutting with scissors, tearing pieces of tape, and stringing things together will help to strengthen muscles in the hands.
Gross Motor Development is the Foundation
Gross Motor Development is the Foundation
Engaging in gross motor activity supports fine motor development by facilitating children’s ability to manage their bodies through space and increasing trunk control. These foundational skills are crucial for successfully sitting in a chair in order to write.
Gross motor activities include, but are not limited to: plenty of outdoor play, running, jumping, swinging, bike-riding, ball play, dancing, and crawling.
Cutting Project at Home with the Keen Boys
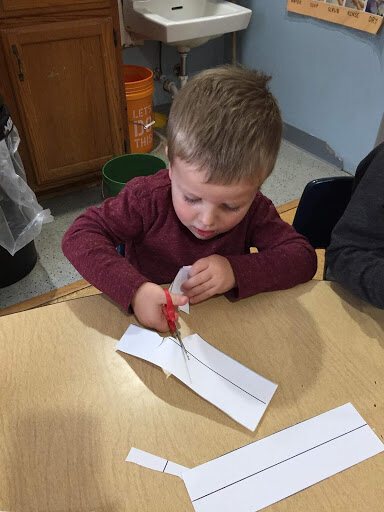
Aidan and his big brother came up with a fun activity to do at home: folding paper and cutting it to make different shapes and objects. Using scissors is great fine motor practice, and it develops hand strength and hand-eye coordination. From mom Ellen: “As an added bonus, it was a great use of recycled printer paper, and the elementary teacher in me loved the impromptu symmetry lesson!”
Thank you, Aidan and family!
Scissor Skill Development
Like writing, proficiency with scissors requires an advanced level of fine motor control. Before a child attempts to use scissors be sure that the necessary groundwork is in place. Here are some easy cutting tips and strategies to increase proficiency. Start with crumpling, ripping, and snipping, before moving on to cutting.
Crumpling of paper is the first step toward cutting with scissors. Why? When a child crumples paper he/she is establishing the needed motor planning for the “open-close” pattern required for using scissors. Crumpling is safe and fun for all levels of scissor-users with experienced cutters crumpling small bits of paper to make tiny “snowballs.”
Ripping a variety of thick papers (i.e. construction, index cards, magazine inserts) is a pre-cutting activity for young children. The ripping action facilitates the tripod grasp with hands ripping the paper in opposite directions.
Snipping with scissors means that one cut does the job. Children love to snip many different items other than paper (see media types below).
Cutting using multiple cut strokes is best practiced on thick paper types initially without lines. Next, incorporate bold, straight lines to encourage cutting accuracy. Cutting on curves can start on round paper plates. Cutting on angles and complex patterns is most challenging. Termination of cutting (knowing where to stop) takes practice.
Salt Painting (a little science and a little art)
Here’s what you’ll need:
Water color paints
White glue (bottle)
Salt
Paper (heavier is best)
Paint brush
Water
Squeeze your glue in squiggles and swirls( or whatever shape you like) all around your paper
Shake the salt all over the glue covering it completely. Shake off extra salt.
Get your paint brush and paints super dooper wet.
Let the tip of the paint brush drip watercolors onto the salty glue. The colors travel through the salt!
And voila! Beautiful art.
Abiyoyo Books read by Rachael
The Abiyoyo books by Pete Seeger are all time favorites at LCC and have been for decades! Join Rachael Dyer for the readings of both "Abiyoyo" and "Abiyoyo Returns". No need to sit still for these. When we read out loud with kids, it is fun to let them act out the story and sing and dance along with the Abiyoyo song.
Loose Parts: An Open-ended and Creative Experience
Loose parts are essentially any type of objects that can be moved around, built with, organized, sorted, lined up, designed, or otherwise creatively manipulated. Believe it or not you almost certainly have things in your home that will make an excellent collection.
It’s helpful to organize them in some way. You might consider putting each type of material into its own container or you might have something like a baking pan with multiple sections that will sort all the materials in one space.
Natural materials are an excellent source of inspiration. I have a gazillion acorns in my lawn, so I collected some of those. You might have a source for rocks (marble-sized to softball-sized is a decent starting point, uniform or mixed), seashells, sticks, or anything that can be manipulated on a table or spot on the floor.
I found some bags of nails in the garage so I collected a few types of them. My favorite was nice and shiny, but also a little too pointy, so I used some others that were less pokey than a sharpened pencil. Safety first! I had some plastic eggs, so I added those, and I cut up some cardboard into smallish “plates.” After that, I put them all into the baking tray so that all the different materials were distinguishable.
There were also various containers for sorting and combining.
At this point, let the creativity flow. Is this a collection that wants to be organized in some way? Can you make interesting structures, or maybe some patterns or designs? After looking at what I had for a few minutes, I decided to make some designs.
You can also build with the materials. Wyn wanted to get in on some of that, so he helped out too.
Here’s a few other things that could be used:
Marbles
Beads
Bottlecaps
Squares of fabric
Ribbon
Popsicle sticks
Dice
And the list goes on…
Colored paper
Golf tees
Old credit or business cards
Coins
Clothespins
Leaves
Flowers
The Tempo Marches On
Get your marching feet ready and join Sara Tall for a fun demo. Is your child needing extra movement today? You can replay this over an over again and go to our music and movement link for more!
Making Carrot Fries on Tasty Tuesday
One of our LCC Kitchen favorites - Carrot Fries! These are so simple to make and kids can help by peeling the carrots, choosing what herbs and spices to add, and painting the carrots with oil for baking.
Ingredients:
#1 carrot sticks (slice baby carrots in half lengthwise)
2 TB olive oil
1 pinch pink or kosher sea salt
Spice (thyme, herb blend, chili powder, Italian herbs, cinnamon, curry, or tarragon are some great spices that work great!)
First smell your spices and together choose how to flavor your carrots. Preheat oven to 400°
Mix your salt, spices and olive oil in a small bowl. Lightly spray baking sheet with oil. Arrange carrots in a single layer. Using a pastry brush paint the carrots.
Cook for 30 minutes. Remove from oven and turn carrots over. Return to oven for 15- 30 minutes. Some prefer them simply roasted while others prefer a longer cooking time and the carrot fries become carmelized. Serve as a snack or a side dish. Enjoy!
Yummy granola bars
Ingredients:
2 cups rolled oats
1/4 cup ground flax seeds
1 tsp cinnamon
3/4 cup brown sugar
1 cup whole wheat pastry flour
1/2 cup raisins, sunflower seeds, or pumpkin seeds (optional)
1/2 tsp. salt
1/2 cup honey
1 egg, beaten
1/2 cup butter
2 tsp. vanilla extract
Preheat oven to 350°. Grease a 9×13 inch baking pan.
In a large bowl, mix together oats, flour, flaxseed, cinnamon, and sugar. Make a well and add egg, honey, vanilla. and butter. Mix well and add raisins or seeds if you like them. Press mixture evenly into pan.
Bake for 30 minutes.
Cool for 5 minutes and cut into bars while warm. If you allow granola bars to cool they will be difficult to cut.
Angela's Bread Sticks
Dry ingredients:
4 cups all-purpose organic flour
1 cup whole wheat organic flour
1 tsp. salt
Wet ingredients:
1 TB yeast
2 cups warm water (110 degrees)
2 TB sugar
In a separate bowl or glass pitcher mix warm water, sugar, and yeast. Watch a little chemical reaction as it bubbles! Measure dry ingredients into a large bowl and stir slowly. After the yeast mixture bubbles for a few minutes stir yeast mixture into flour. Stir or mix with your hands until it becomes a smooth. Add more water by the teaspoon if too dry. Add a bit of flour if it is too wet. Roll into shapes, long snakes, letters or animals. Bake at 400 degrees for 8 to 10 minutes (depending on size & shape)
It’s easy to "dress up" your bread sticks before you bake them. Coat with olive oil or butter then sprinkle on Italian herbs and parmesan cheese, sesame seeds, cinnamon and sugar, or mustard. These are all favorites at LCC!
How to talk about feelings
How do I talk about feelings or emotions with my older toddlers and preschoolers? There are many ways to do this and whether or not there is a pandemic we all need reminders about talking about feelings and emotions.
I’m making the assumption that most of us have some sort of smart phone and these can be a great tool when there aren’t other options for emotion photos. A fun way that I recommend to do this is to take photos of your children when they are feeling happy with their different emotional faces. Happy, sad, mad, frustrated, surprised, confused, calm, impatient and so on…
Sad
Thoughtful or confused
Surprised or goofy
Peaceful or content
Happy
Impatient
If you are able to print them that’s great but it isn’t necessary in this case. When your child is having a difficult time in some way offer them these photos when they can’t tell you exactly what is happening. To make sure they feel supported through tough times make sure that you let them know you are ready to help when they are ready. Stay close and calm so they feel your presence during these tough times…
If and when they are able to let you know how they are feeling talk about what you can do to help them get back to a peaceful or happy place. Some suggestions of things they can “do” to help them feel better are: (to give them control over this part they can even point to the picture of what they have chosen or make the pictures by themselves) making a picture with whatever items you have available, take a breath with them, pretend to blow up a balloon, hug a person, hug a bear, squeeze play dough or a sensory ball if you have one, snuggle a baby, or softy snuggly item they have that gives them comfort.
Squeeze playdough
Snuggle a baby
Hug or cuddle a stuffed animal
Squeeze a sensory ball
Snuggle a blanket or softy
Get a hug
