Happy Earth Day from LCC
‘There is something infinitely healing in the repeated refrain of nature — the assurance that dawn comes after night, and spring after the winter.’~ Rachel Carson, A Sense of Wonder.
We love celebrating Earth Day with our kids at LCC and this is the time of year that we finally get to put away the snow pants and watch things come to life in our natural playscapes. We also like to include kids in clean up activities around our neighborhood, taking care of our little corner of the planet. While we won’t be together this year, we hope that you all get to find a way to appreciate and nurture your own little backyard habitats and celebrate Earth Day today.
The Children’s Nature Network has some great resources for kids and parents to stay connected to the natural world during COVID-19: https://www.findingnature.org/
A Little Spot of Anger: A Story about Managing BIG Emotions!
LCC teacher, Cassie Burda, reads A Little Spot of Anger. Kids experience frustrating situations everyday, whether it's someone taking their toy or they feel like they can't do something. This story shows them that instead of yelling or stomping their feet, they can practice some fun ways to help them stay calm.
Angela's Ginger Lemon Scones
Simple recipe for yummy scones that will make your whole house smell delicious!
INGREDIENTS:
2 cups flour
1 Tb baking powder
1 pinch of salt
4 Tablespoons butter at room temperature
1 egg
3/4 cup milk
2 Tb lemon juice
1 tsp ginger
3 Tb chia seeds
Preheat oven to 350 degrees
In a large bowl, measure flour, baking powder, ginger, and chia seeds. Cut in butter.
In a small bowl, whisk sugar, egg, lemon juice, and milk.
Fold wet ingredients into a large bowl.
Mix and drop small scoops onto a baking sheet.
Bake at 350 for 8-12 minutes, and enjoy!
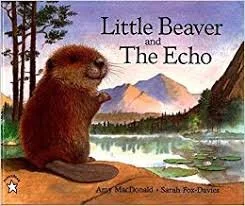
"Little Beaver and the Echo" by Amy MacDonald, read by Nora
Nora reads this story about Little Beaver who is on the search for a friend he thinks he hears across a pond.
Bubbles!
Here is a tried and true recipe for bubbles you can make at home
Step 1
Gather up your ingredients! You will need: ½ cup Dawn dish soap (or whatever you have on hand), ¼ cup light corn syrup, 3 cups water and bubble wands.
Step 2
Pour all three ingredients into a container and mix well
Step 3
Head outside and play! These bubbles will last quite a long time if covered. Have fun!!!
FYI
If you don’t have bubble wands at home, here is a link to ideas for making your own: Make your own bubble wand
Painting Fossils with Water
LCC teacher Sara Johnson shares a great activity that combines science, nature, and celebrates the unique place we live.
Materials: Any rocks or stones you have collected, small jar with water and a paintbrush
Our family loves collecting rocks while visiting our favorite local beaches. Where we live, we often find many petoskey stones and leland blues and an assortment of beautiful fossils. Water brings out the full colors and designs of these pretty stones and it can be very soothing and therapeutic. It’s a fun activity that you can come back to again and again.
Baking Math: A Fun Way to Work with Numbers
Math. A word that kind of makes me nervous. Big numbers, lots of steps, concepts upon concepts. But what if I told you math can be a really fun thing!
Baking is one of my favorite things to do. I love to make treats and projects with all kinds of ingredients. And while I’m working with my tools and supplies I’m also knee deep in ...MATH! Teaspoons, tablespoons, cups OH MY! Here are some of the key math wonders of baking.
-Introduction of simple concepts. A recipe with steps is a great example. Here we see the idea of following a sequence of steps. Recipes that have clear steps are the best way to start.
-Baking tools such as measuring cups are a great introduction to the concept of smaller vs bigger. They stack in a certain order and letting children work with the cups helps solidify this concept.
-Rolling pins can be a great method for working on hand eye coordination. Keeping dough even is key. Both your eyes and your hands working together makes that happen!
Baking tools are a great way to introduce math!
Cornstarch dough (a little math, a lot of fun!)
I love to bake! I love to craft! This recipe is perfect for both.
Here’s what you will need:
1 Cup Baking Soda
¾ Cup Water
½ Cup Cornstarch
Step 1: Place all your ingredients in a saucepan. Cook over medium heat. Keep stirring and stirring making sure to get all the stuff on the bottom of the pan mixed in. The mixture will begin to get thicker.
Once your mixture starts to look like really delicious mashed potatoes take it off the burner! I found that my dough took about 8 minutes over medium heat. All stoves are different. So just keep a close eye!
Step 2: Put your dough in a bowl and cover the bowl with a wet cloth. Let the dough cool before your take it out to roll.
Step 3: Roll your dough into a nice round ball. Take your rolling pin and begin rolling from the center of the ball. Roll left to right and then bottom to top. Work on keeping your dough nice and even. It takes practice but i know you’ll get it.
Step 4: This is the fun part (well it’s all fun but this is REALLY fun). Cut out shapes in the dough. You can use a cookie cutter like i did or you can cut the dough into squares, triangles, whatever you like. It’s up to you! I love hearts so that’s what I choose. *a little note! Your dough maybe a little sticky as you cut shapes. I find a spatula is helpful to preserve the shape after it is cut. Just gently slide it under the shape and transfer to your baking sheet.
Step 5: Heat up your oven to 175 degrees. Bake your shapes for 1 hour flipping them over after 30 minutes.
Step 6: Now it’s time to decorate! After your shapes have come out of the oven and had a good amount of time to cool you can work with them. I choose to paint this one because I love to paint. But you could use marker or glue things on them. Or even leave them plain. Your choice!
"What is Missing"
Materials: bag or tray with a variety of fun objects; large piece of paper or a blanket
Objectives: This is a fun game that helps children to recognize and recall, they interact with peers, follow directions, practice using expressive vocabulary, problem solving, classification skills and understanding spatial relationships.
Directions: Have your child pick out a variety of objects, tell them that you are going to play a memory game. Have them look over each object and talk about what they are, what they are used for and maybe where you found them. Next tell them you are going to put them on a tray or on the floor and cover them with a blanket/towel. Carefully remove one or two objects from the tray. Uncover the remaining objects and ask the children to tell you what is missing. After playing a couple of times the Foxies found it fun to take turns removing an object from the tray. Sometimes we would remove on object and sometimes we would remove three! Have fun with it!
“Stay at Home” Extension: This is a game that can be played with others over skype, zoom, or facetime. Get a family member or friend that doesn’t live with you to play along. You can each create your own tray of favorite items, share what they are, and then play the what is missing game together.
Strengthening Fine Motor Skills
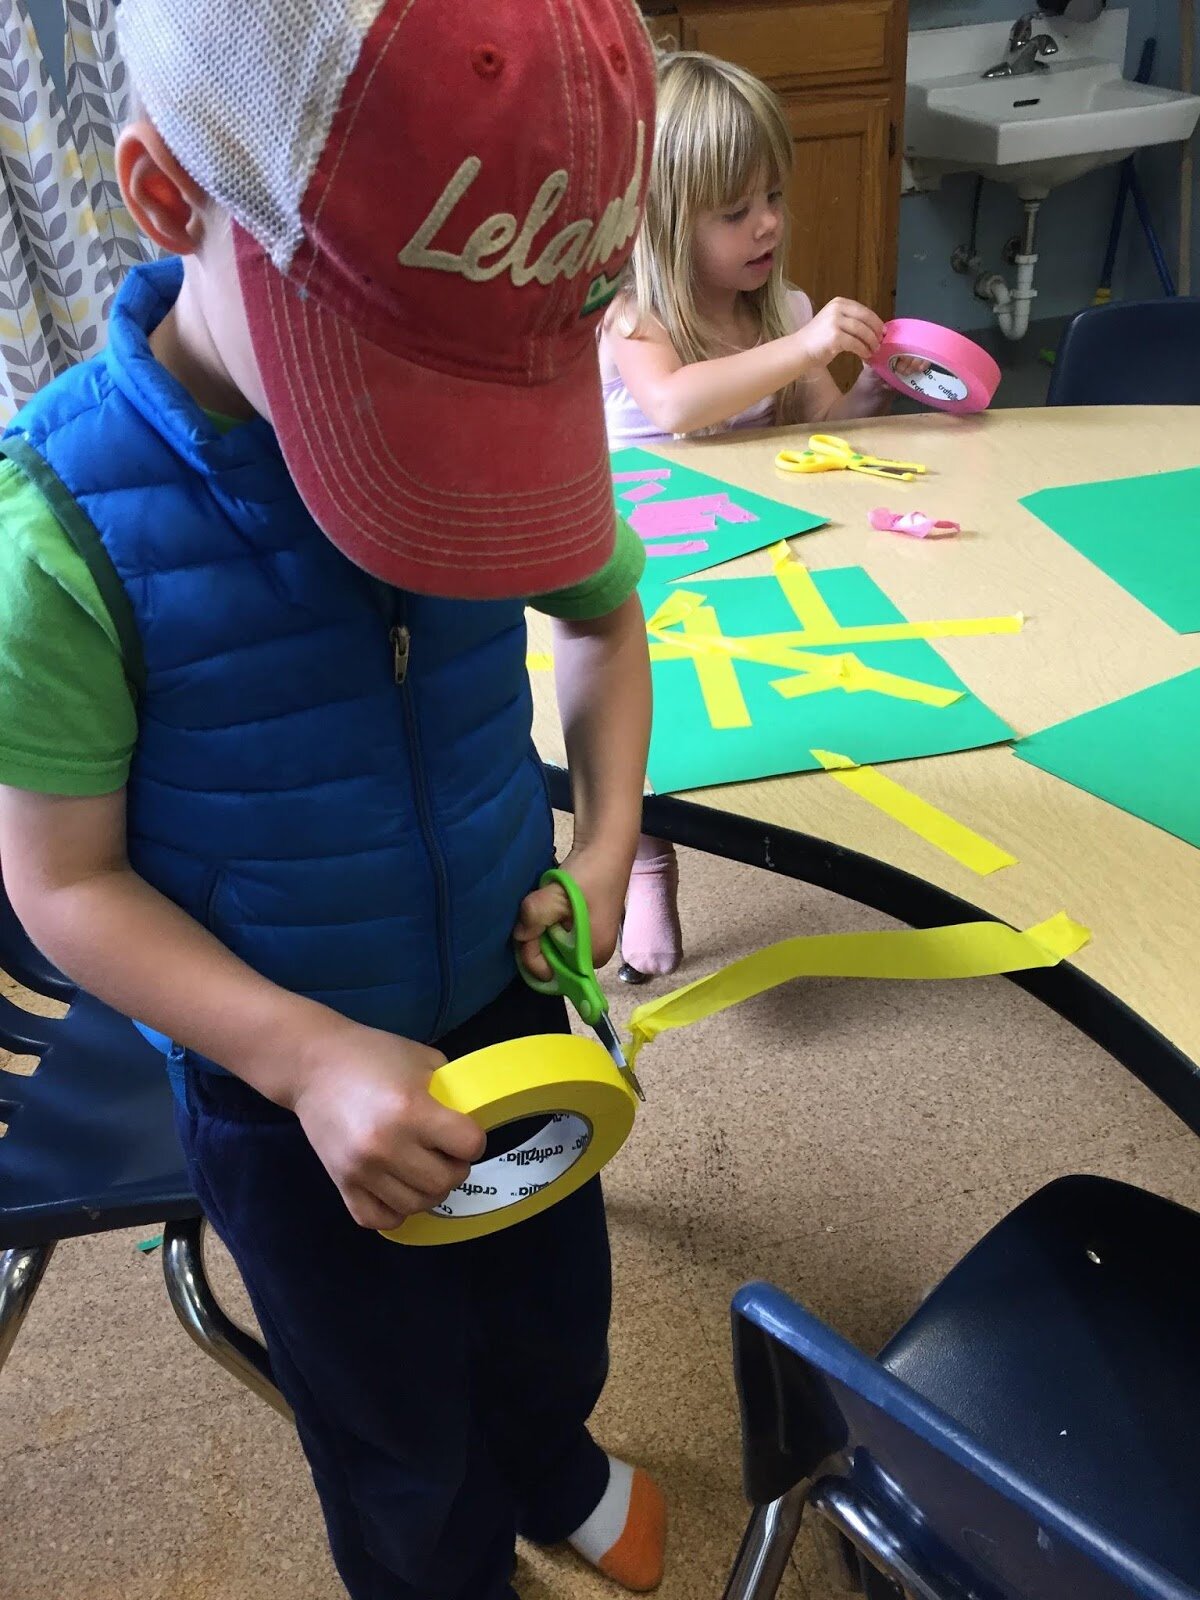
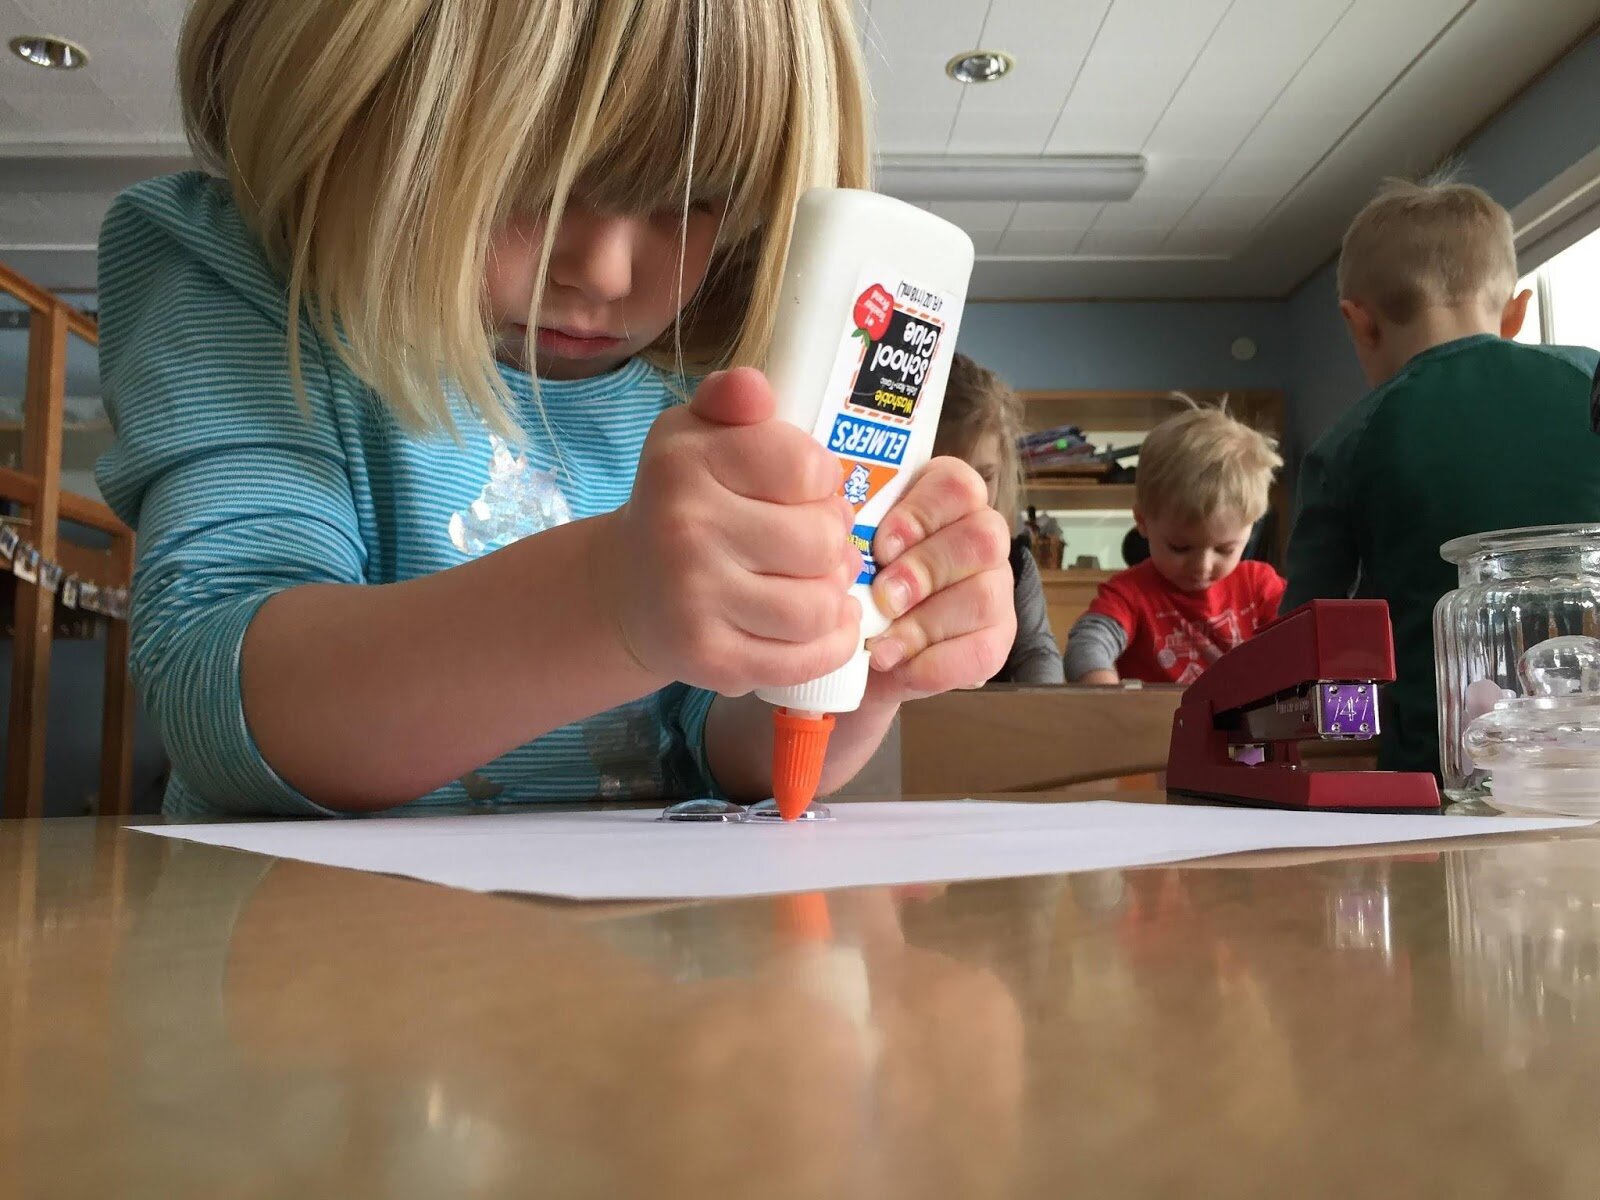
Prior to grasping a pencil correctly and learning how to write efficiently, young children develop the skills needed for writing through engaging in a wide variety of hands-on play experiences with toys and tools and participating in activities of daily living such as self-feeding, dressing, and performing hygiene tasks. Activities like squeezing playdough, squeezing glue bottles, using tongs, cutting with scissors, tearing pieces of tape, and stringing things together will help to strengthen muscles in the hands.
Gross Motor Development is the Foundation
Gross Motor Development is the Foundation
Engaging in gross motor activity supports fine motor development by facilitating children’s ability to manage their bodies through space and increasing trunk control. These foundational skills are crucial for successfully sitting in a chair in order to write.
Gross motor activities include, but are not limited to: plenty of outdoor play, running, jumping, swinging, bike-riding, ball play, dancing, and crawling.
Cutting Project at Home with the Keen Boys
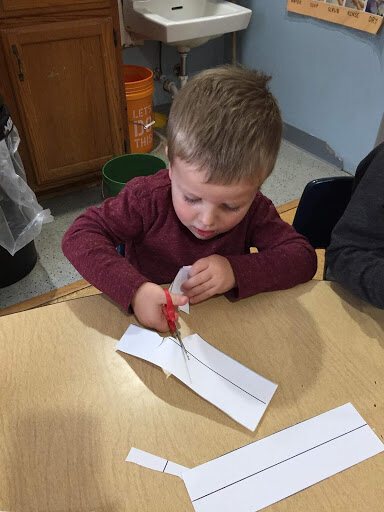
Aidan and his big brother came up with a fun activity to do at home: folding paper and cutting it to make different shapes and objects. Using scissors is great fine motor practice, and it develops hand strength and hand-eye coordination. From mom Ellen: “As an added bonus, it was a great use of recycled printer paper, and the elementary teacher in me loved the impromptu symmetry lesson!”
Thank you, Aidan and family!
Scissor Skill Development
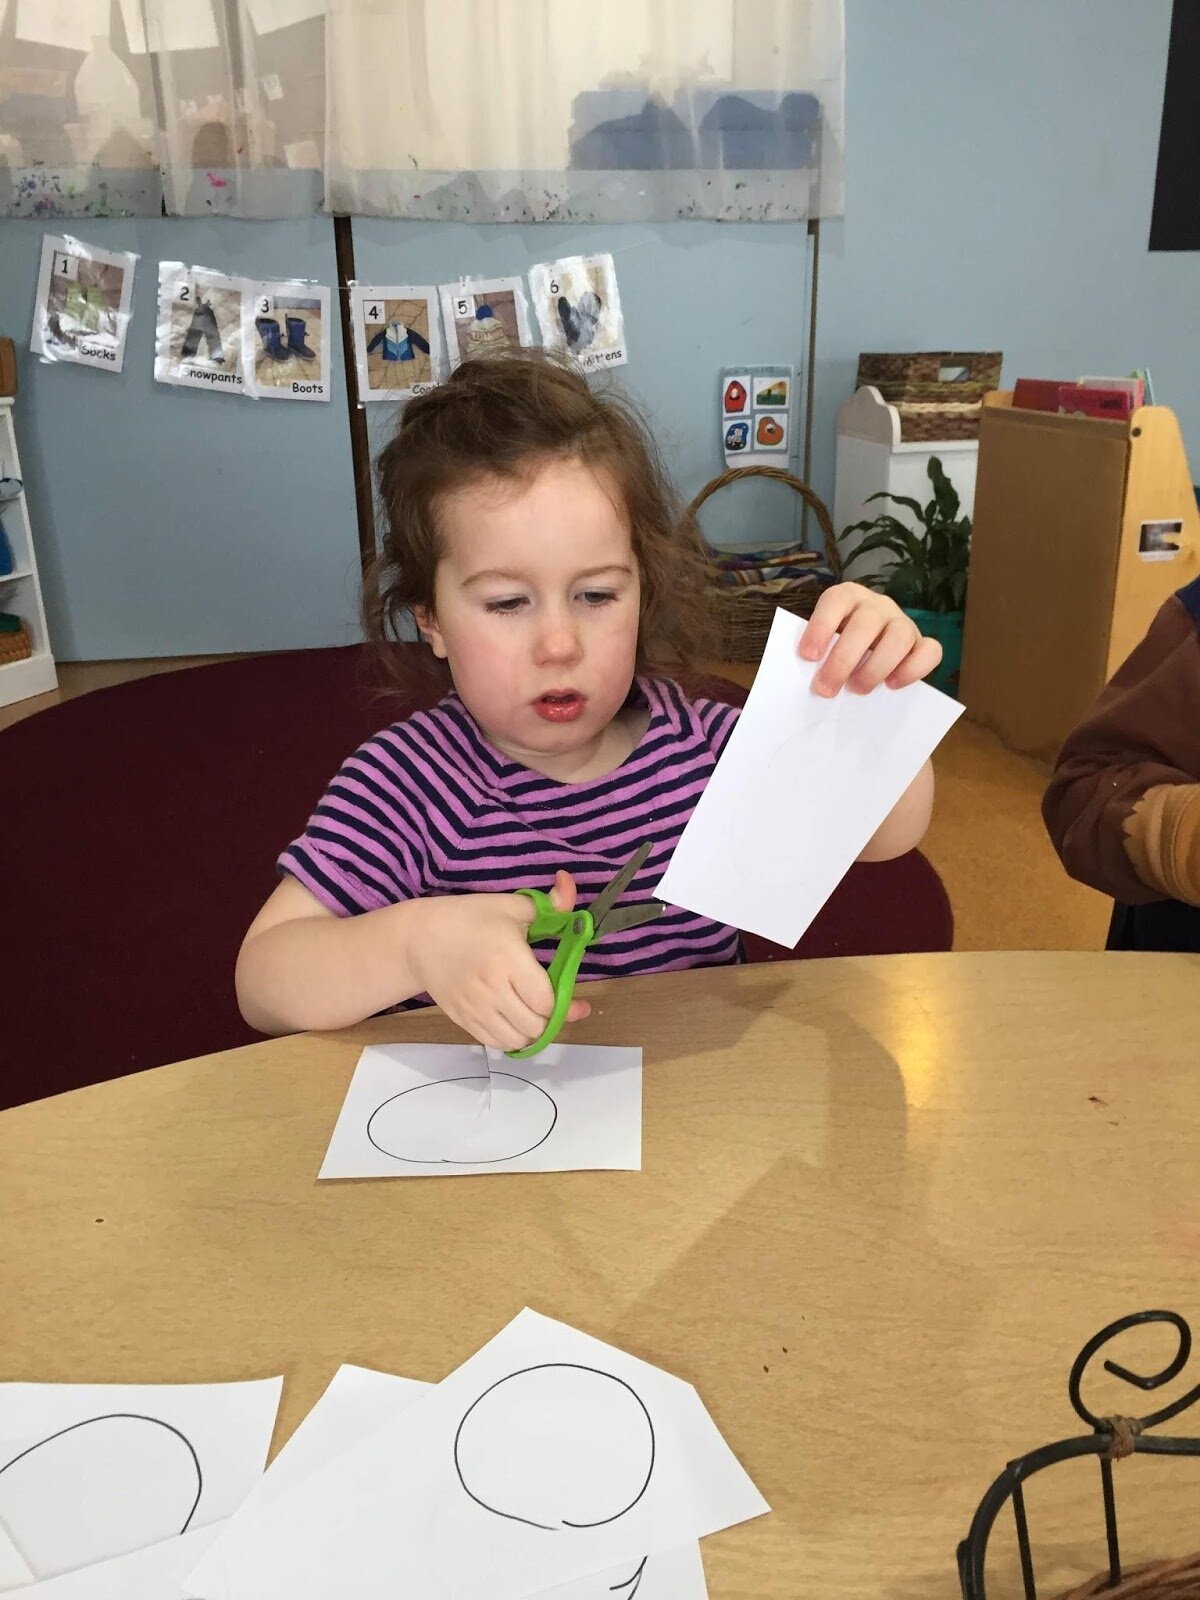
Like writing, proficiency with scissors requires an advanced level of fine motor control. Before a child attempts to use scissors be sure that the necessary groundwork is in place. Here are some easy cutting tips and strategies to increase proficiency. Start with crumpling, ripping, and snipping, before moving on to cutting.
Crumpling of paper is the first step toward cutting with scissors. Why? When a child crumples paper he/she is establishing the needed motor planning for the “open-close” pattern required for using scissors. Crumpling is safe and fun for all levels of scissor-users with experienced cutters crumpling small bits of paper to make tiny “snowballs.”
Ripping a variety of thick papers (i.e. construction, index cards, magazine inserts) is a pre-cutting activity for young children. The ripping action facilitates the tripod grasp with hands ripping the paper in opposite directions.
Snipping with scissors means that one cut does the job. Children love to snip many different items other than paper (see media types below).
Cutting using multiple cut strokes is best practiced on thick paper types initially without lines. Next, incorporate bold, straight lines to encourage cutting accuracy. Cutting on curves can start on round paper plates. Cutting on angles and complex patterns is most challenging. Termination of cutting (knowing where to stop) takes practice.
