Snap Painting
Fine motor skills are essential building blocks to being able to manipulate pencil on paper. A strong pincer grasp is key to this process. This beautiful art project is a fantastic and easy way to work on the pincer grasp. Have fun! I can’t wait to see what you create!

What you’ll need
• A shallow box (I found mine in the recycling)
• Rubber bands
• Paper
• Acrylic paints
• Paint brush
Put your rubber bands around the box. You can put as many as you like and space them however you wish. Now slide your paper into the box making sure it lies on the bottom. Trim to fit if you need too.


Time for color! Ready your palette and begin to paint the rubber bands. Get A LOT of paint on the underside of the rubber bands. Some will end up on the top and that’s just fine.


Now comes the fine motor work! Grasp one (or more!) rubber band and pull it straight up. It will feel tight. When you feel ready let go of the rubber band. BOOM! Beautiful splatters of color.! Keep adding paint and pinching the rubber bands and splattering that paint. You can even change the rubber bands to the other side of the box. This really fills up the whole paper.


Here is my finished piece.
I love it
You can change the thickness of the rubber bands or you could even try this with yarn or string. Keep working on that grasp. See you for another project soon!

Strengthening Fine Motor Skills
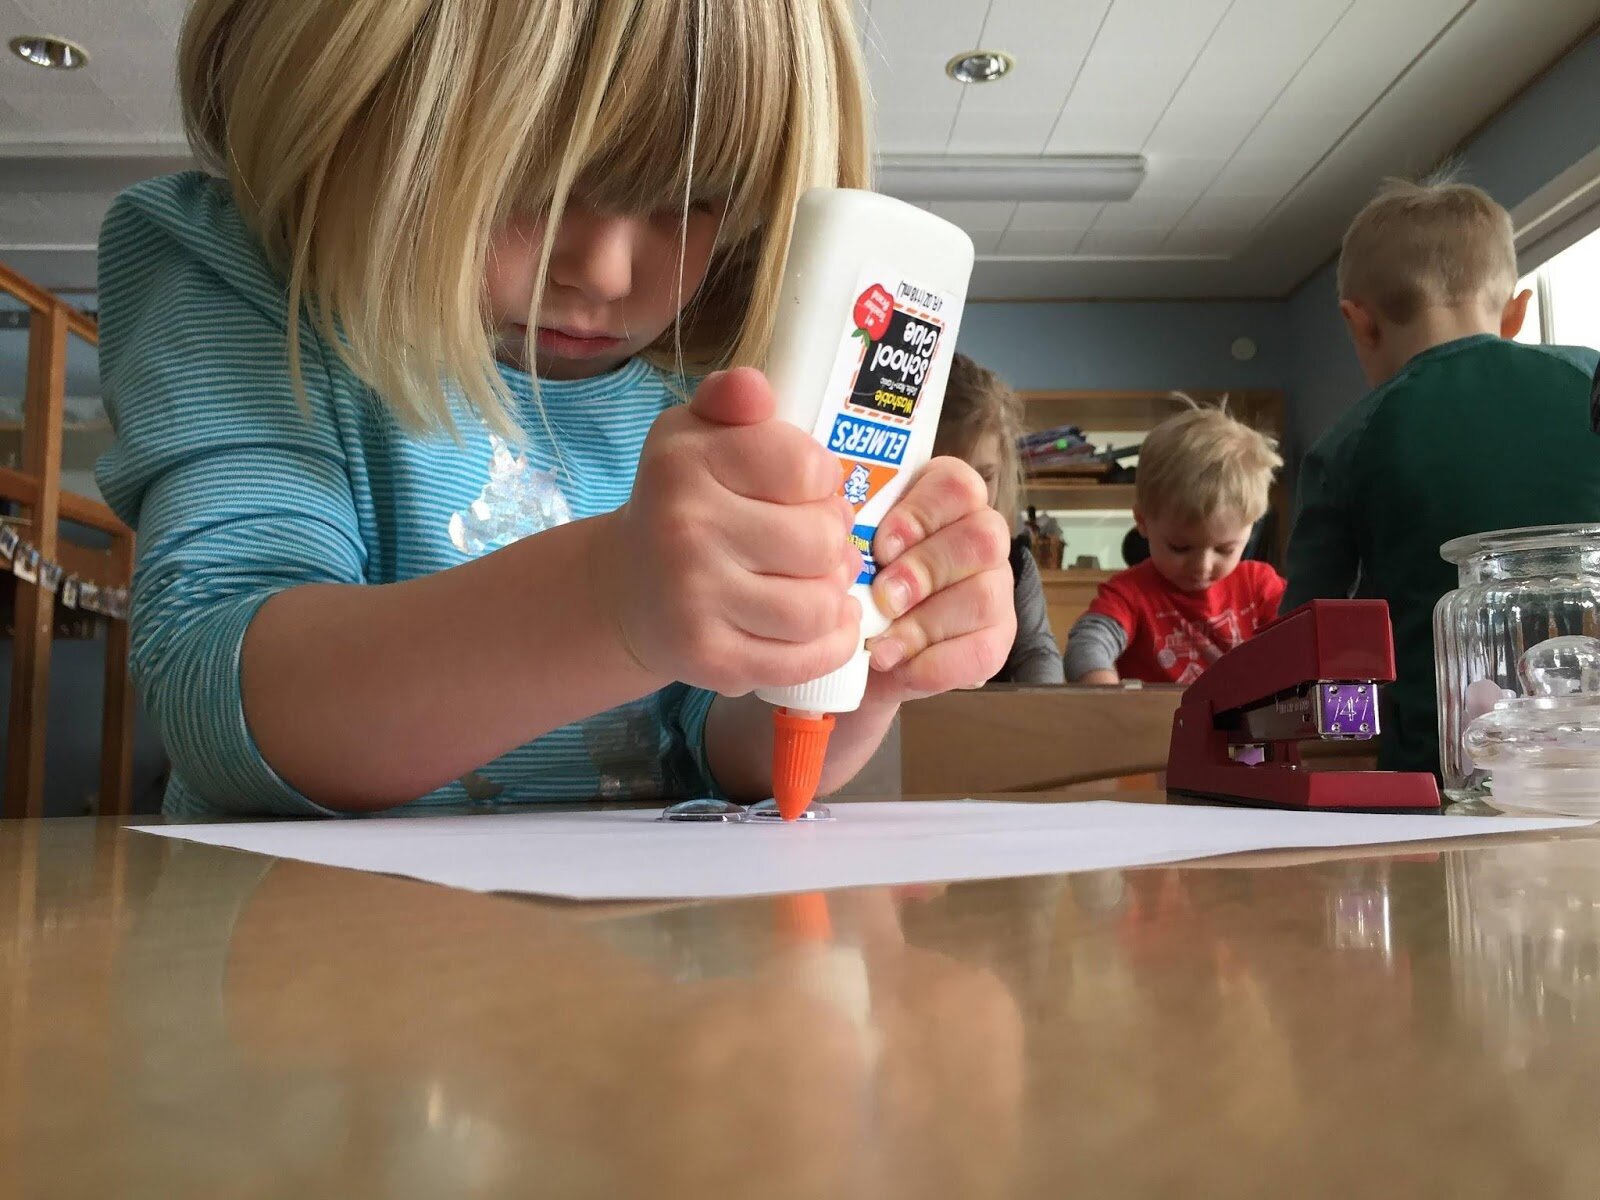
Prior to grasping a pencil correctly and learning how to write efficiently, young children develop the skills needed for writing through engaging in a wide variety of hands-on play experiences with toys and tools and participating in activities of daily living such as self-feeding, dressing, and performing hygiene tasks. Activities like squeezing playdough, squeezing glue bottles, using tongs, cutting with scissors, tearing pieces of tape, and stringing things together will help to strengthen muscles in the hands.

Gross Motor Development is the Foundation
Gross Motor Development is the Foundation
Engaging in gross motor activity supports fine motor development by facilitating children’s ability to manage their bodies through space and increasing trunk control. These foundational skills are crucial for successfully sitting in a chair in order to write.
Gross motor activities include, but are not limited to: plenty of outdoor play, running, jumping, swinging, bike-riding, ball play, dancing, and crawling.

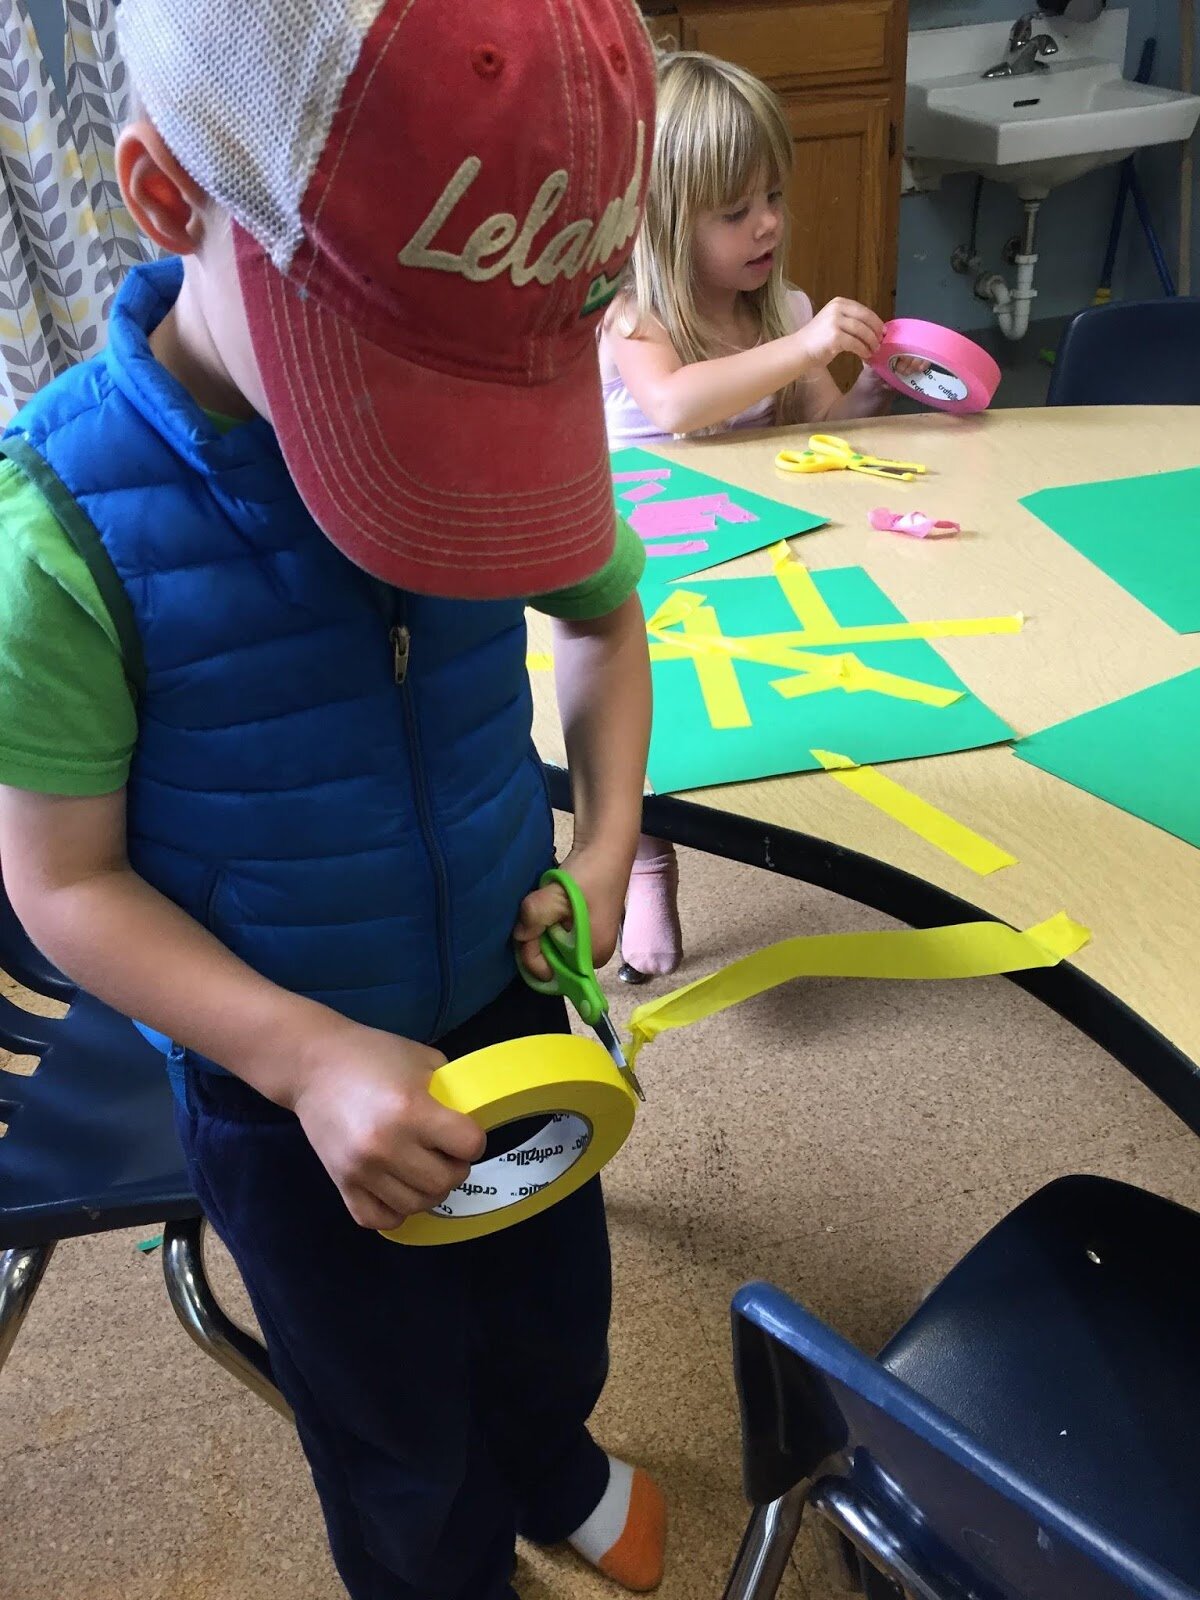
Cutting Project at Home with the Keen Boys
Aidan and his big brother came up with a fun activity to do at home: folding paper and cutting it to make different shapes and objects. Using scissors is great fine motor practice, and it develops hand strength and hand-eye coordination. From mom Ellen: “As an added bonus, it was a great use of recycled printer paper, and the elementary teacher in me loved the impromptu symmetry lesson!”
Thank you, Aidan and family!
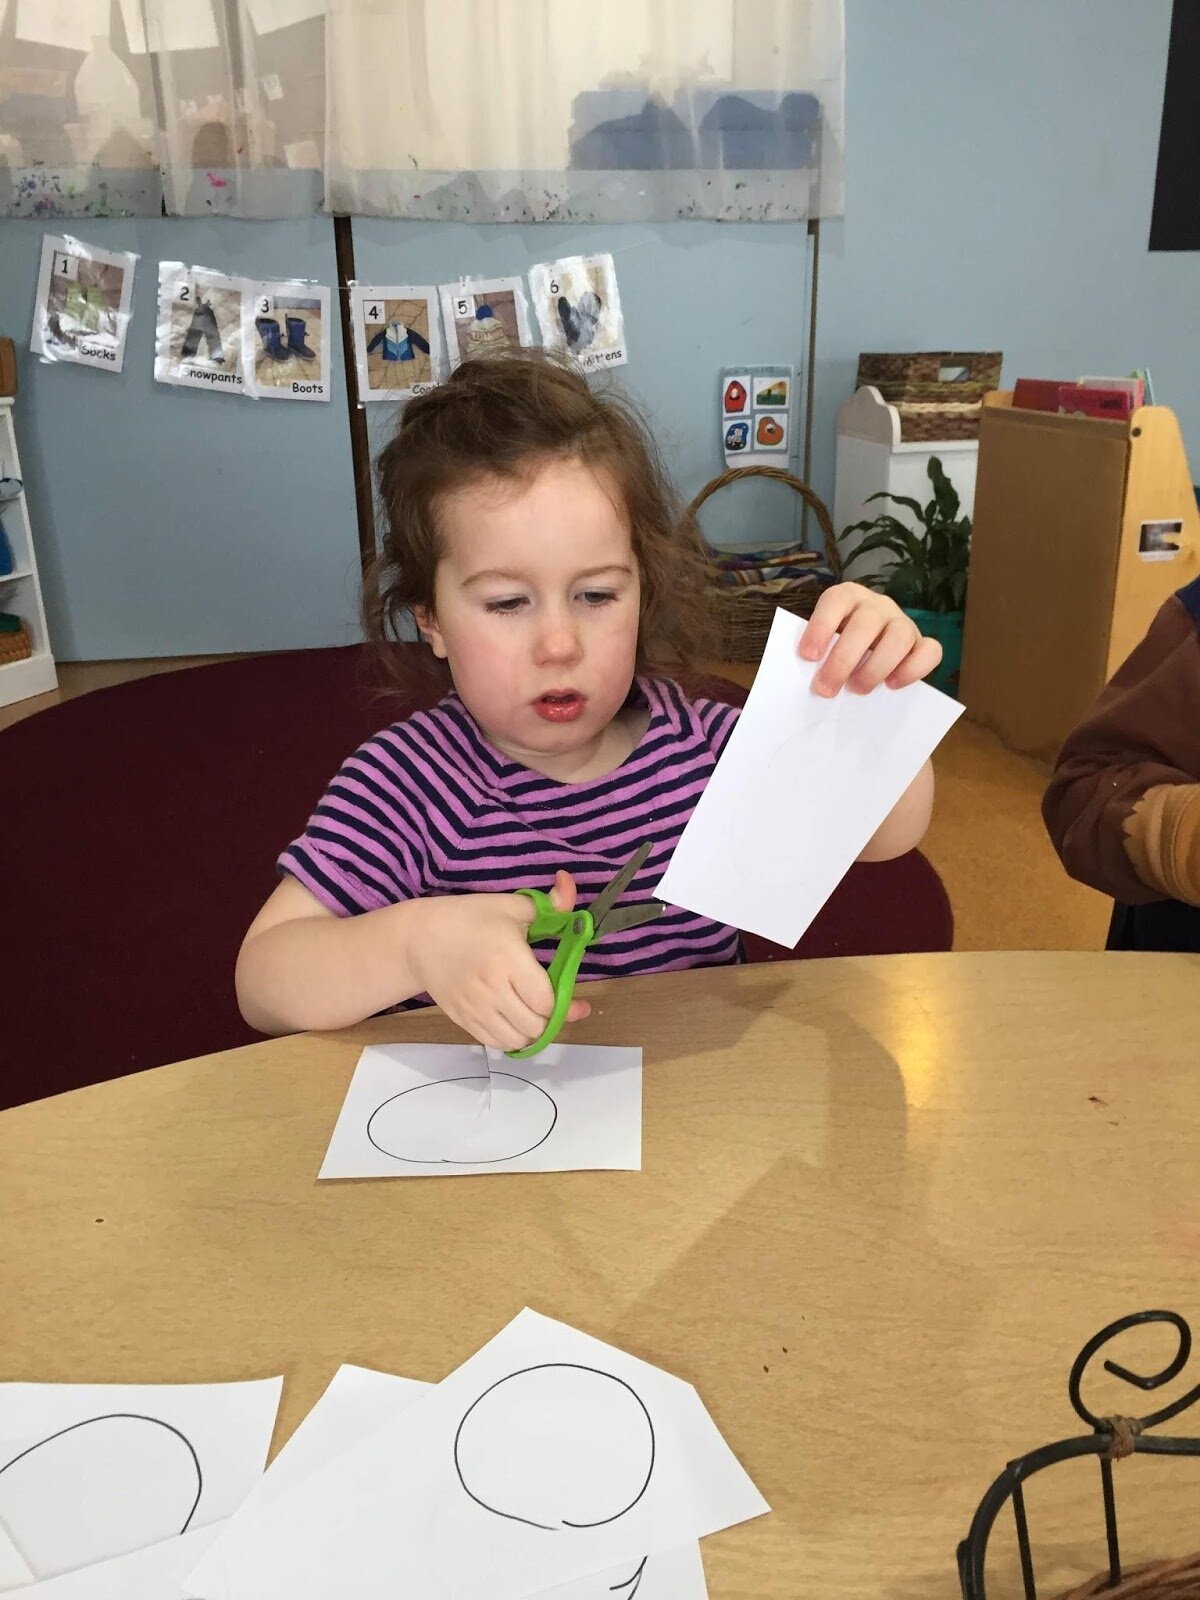
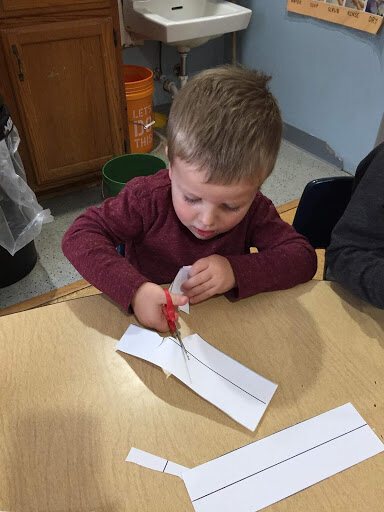
Scissor Skill Development
Like writing, proficiency with scissors requires an advanced level of fine motor control. Before a child attempts to use scissors be sure that the necessary groundwork is in place. Here are some easy cutting tips and strategies to increase proficiency. Start with crumpling, ripping, and snipping, before moving on to cutting.
Crumpling of paper is the first step toward cutting with scissors. Why? When a child crumples paper he/she is establishing the needed motor planning for the “open-close” pattern required for using scissors. Crumpling is safe and fun for all levels of scissor-users with experienced cutters crumpling small bits of paper to make tiny “snowballs.”
Ripping a variety of thick papers (i.e. construction, index cards, magazine inserts) is a pre-cutting activity for young children. The ripping action facilitates the tripod grasp with hands ripping the paper in opposite directions.
Snipping with scissors means that one cut does the job. Children love to snip many different items other than paper (see media types below).
Cutting using multiple cut strokes is best practiced on thick paper types initially without lines. Next, incorporate bold, straight lines to encourage cutting accuracy. Cutting on curves can start on round paper plates. Cutting on angles and complex patterns is most challenging. Termination of cutting (knowing where to stop) takes practice.
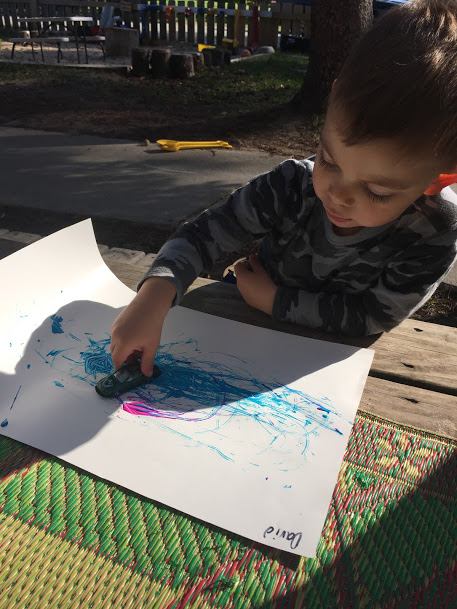
Painting with Cars, Trucks, Tractors, Diggers
Materials Needed:
Paper
Paint
Toys with Wheels!
Instructions:
Ask your child to gather some of their favorite wheeled vehicles to use for this fun art project.
Place a sheet of paper (the larger the better) on a flat surface and have your child choose which color of paint they would like to use.
Now the fun part, drive the vehicles through the paint and see what kind of different tracks the wheels make!
Afterwards you can fill up the sink with warm soapy water and let your child clean the vehicles!

Weaving Project with Sara Tall

"Weaving is such a versatile project. Materials can be found everywhere! The sewing scrap stash, out in the woods, the beach, even the recycling bin. All of these places hold great materials. I especially love weaving because it is so wonderful for fine motor development in children" - Sara Tall (a.k.a. Sara Maleski)
Weaving is such a versatile project. Materials can be found everywhere! The sewing scrap stash, out in the woods, the beach, even the recycling bins. All of these places hold great materials. I especially love weaving because it is so wonderful for fine motor development in children.
Here are some of the great benefits:
Hand-eye coordination
Understanding patterns and sequencing (essential for later language and numeracy development)
Skills such as naming colors and concepts such as up and down.
Weaving is a calming activity. It really promotes relaxation.
So let’s get started! Here is a list of materials to both build a simple loom and weaving materials.
You will need:
A cardboard box with a deep middle
Golf tees (10-20 or big tacks will work too)
Yarn for warp (vertical strings)
Various materials for weft (horizontal strings). I chose fabric, ribbon, and sticks but it’s totally up to you!


Mark each end of your box in increments of one inch. Keep an eye on your marks as you want them to match up vertically.


Poke your golf tees into the box on marks made at inch increments. Make a little loop and slip it over the first tee. Now wind your warp! Start with the first tee and make your way around top to bottom going around each tee. Make a little loop around your last tee (pretty snug).


Now you do to do the fun part - make your weft! Begin by weaving your first material over and under your warp strings. On your next material, go under and over. Repeat under you have filled the loom with marvelous materials!


Here is a picture of my finished weaving. My plan is to find other materials and start all over! I hope you enjoy and post pics so we can see your beautiful art!
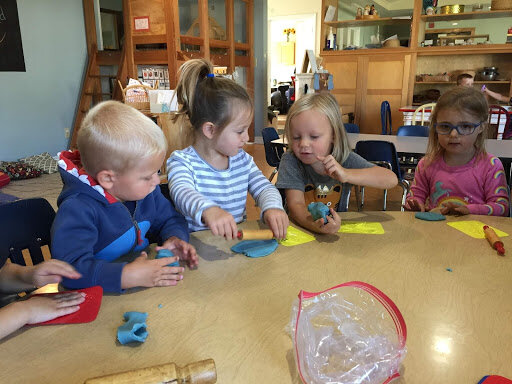
LCC's famous cooked playdough recipe
Here is one of the Leelanau Children’s Centers favorite recipes for homemade playdough. We have found through years of experience that the cooking method provides a better playdough than the non-cooking method. This is one of our go to materials that we have available every day for our children. Obviously if there is an illness or children sneeze or cough on it we throw it away and make a new batch!
We store it in an airtight container or large ziplock bag. You can play with it as is or you can add many household materials such as pizza cutters, rolling pins, small plates and bowls, pine cones, Popsicle sticks…the possibilities are really endless with playdough! This is a cheap and easy activity that you can do with your child that helps build so many of their developmental domains such as language, fine motor, cognitive, and scientific skills!
COOKED PLAYDOUGH
1 c. flour
1/2 c. salt
2 tsp. cream of tartar
1 c. water
2 tbsp. oil
1 tsp. food coloring
Combine 1 cup flour, 1/2 cup salt and 2 teaspoons cream of tartar in a large saucepan. Gradually stir in 1 cup water mixed with 2 tablespoons oil and 1 teaspoon food coloring. Cook over medium to high heat, stirring constantly until a ball forms. Remove from heat, cool, and knead until smooth on wax paper. Store in an airtight container. We often add essential oils like lavender or mint to add a sensory bonus!
